-
Ceiling drywall edges
-
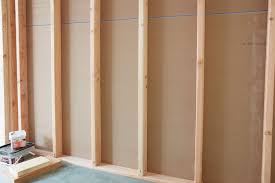
Wall corners without framing
-
Patching irregular cutouts
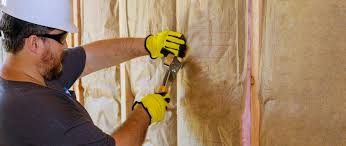
Clips are typically fastened to the back of the drywall and screwed into the adjacent panel.
🔩 Materials You Might Need
| Tool or Material | Purpose |
|---|---|
| Stud Finder | Locate existing framing |
| Drywall Screws | Fasten into wood or anchor |
| Construction Adhesive | Additional support and bonding |
| Toggle Bolts | Heavy-duty hanging and anchoring |
| Drywall Clips | Edge support in open spaces |
| Furring Strips (1×2) | Create backing behind drywall |
| Utility Knife | Cut drywall or remove damaged section |
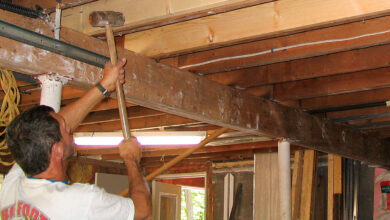
💡 Real-Life Example
Let’s say you’re patching a wall after removing an old medicine cabinet. There’s a 2’x3’ opening, but only one stud runs along the side. Here’s how you secure new drywall:
-
Measure the opening and cut new drywall to fit.
-
Insert 1×3 backers into the wall cavity and screw them to the existing drywall.
-
Add a small vertical furring strip or sister stud on the other side of the opening.
-
Fasten the new drywall into the stud, backers, and drywall edges.
-
Tape and mud the seams, and you’re done.
Result: solid, clean repair—with no visible stud in sight.
❗ Common Mistakes to Avoid
-
Skipping anchors when no stud is found—leads to sagging or detachment
-
Overdriving screws, which can tear through drywall paper
-
Relying on glue alone—always use at least one mechanical fastener
-
Failing to support the edge—unsupported drywall will crack at seams
-
Using the wrong anchor type—e.g.,