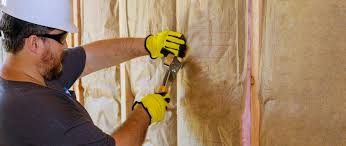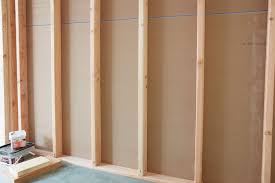
🪚 Step 4: Sister a Hidden Stud
If the drywall edge ends in a place with no stud, consider sistering a small stud into the wall cavity.
Steps:
-
Cut a new stud (2×4) to fit vertically between floor and ceiling plate.
-
Insert it alongside the existing stud or between two studs.
-
Toe-nail it into place, or attach it to a block running between studs.
-
Now fasten your drywall into this newly installed framing.
This is especially useful for:
-
Patching drywall near corners
-
Working with curved or recessed walls
-
Creating new anchor points
🧴 Step 5: Combine Construction Adhesive with Anchors
If the drywall is going up in a non-load bearing or non-critical area, consider combining adhesive and anchors.
How:
-
Apply a strong construction adhesive (like Liquid Nails or Loctite Power Grab) along the joist or back side of drywall.
-
Use plastic anchors or drywall screws to hold it temporarily until it cures.
-
Once dry (typically 24 hours), the bond will help secure the drywall permanently.
This is not a replacement for studs but works in tight areas like:
-
Bulkheads
-
Drop ceilings
-
HVAC enclosures
-
Non-structural walls
⚙️ Bonus Tip: Use Drywall Clips
Drywall clips (also called edge clips or panel supports) are metal or plastic clips used to:
-
Secure the edge of a drywall sheet where no stud exists
-
Attach one panel to another cleanly
They’re useful for: